
Setting up a NAS
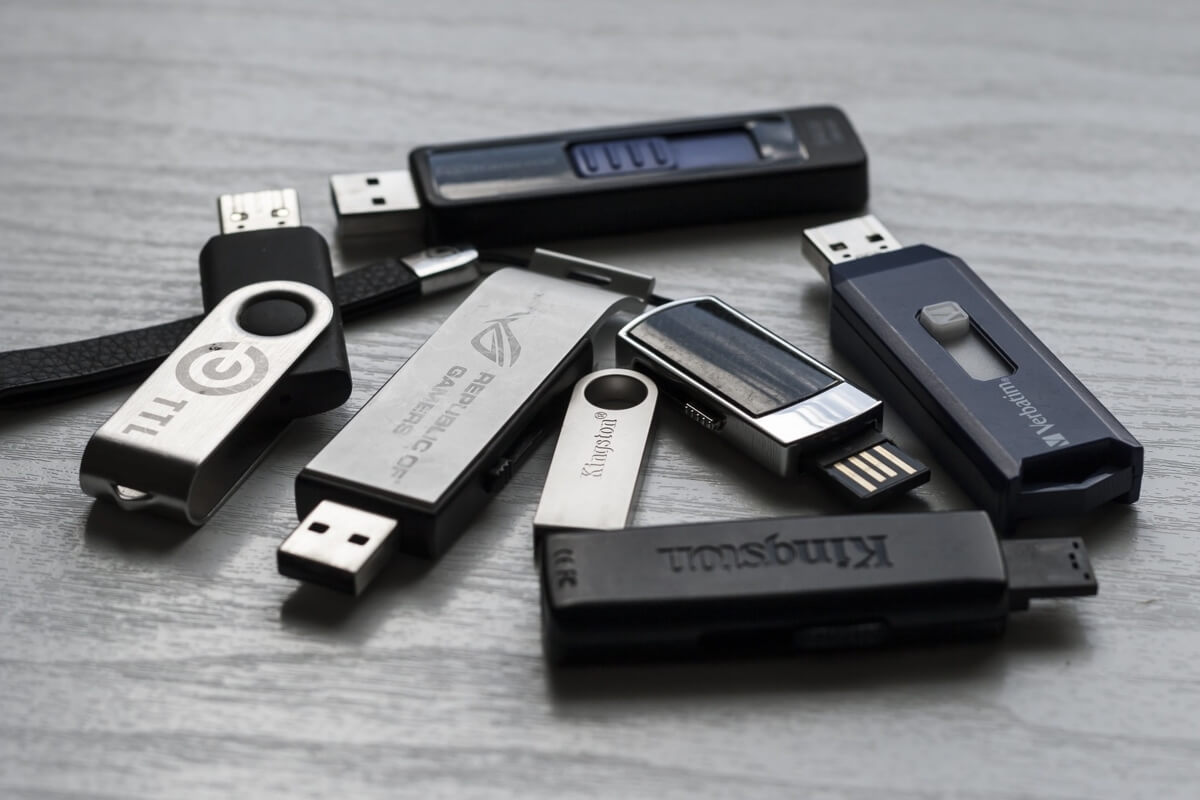
There’s a quick and easy way to add network associated storage (NAS) to your BT Home Hub 6. This can be achieved by plugging some storage into the USB socket on the back of the router. Either with a USB stick or a USB drive. The home hub only uses USB 2.0 and this may affect data transfer times. What you end up using for your NAS drive will largely depend on how much centralised storage you want. A USB stick is pretty low cost and convenient, especially if you want to move pics and videos from one device to the next. Or perhaps create a low cost media server.
Procedure
- Attach your USB device to the hub
- Open your browser and enter the IP address of your router in the address bar. Probably 192.168.1.254
- Click the My Devices blue panel followed by the USB Panel
- Make a note of the name given to your attached USB Storage
- On your PC make sure Network Discovery is switched on via the advanced Sharing settings found in the Network Sharing Centre accessed through the control panel. – (Windows key + I / Network Sharing Centre / Change Advanced Sharing Options / Turn on network discovery.
- Return to your PC and call up file explorer (Windows Key + E)
- Navigate to my PC on the left, right click and choose “add a network location” then choose Next
- In the dialogue box enter the IP address of your router and the name of the USB device you noted down e.g. (\\192.168.1.254\”name”)
- When requested give it a name that is useful to you
- Hit next and open your new NAS
